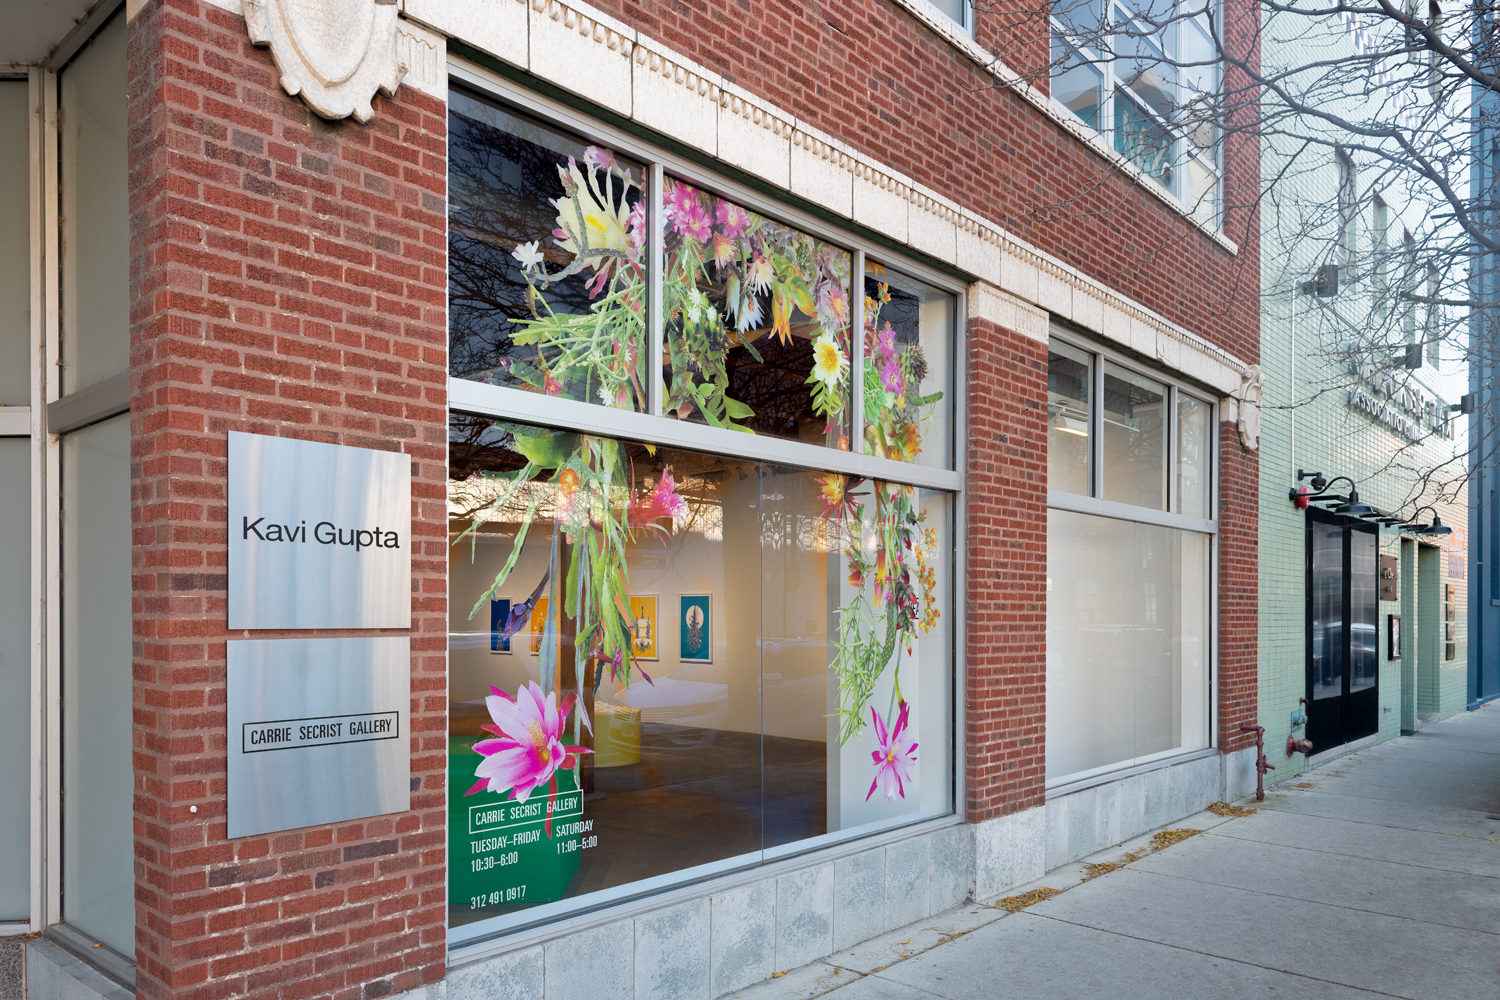
Ceaseless Wheel is the debut solo exhibition of artist Stephen Eichhorn with Carrie Secrist Gallery.
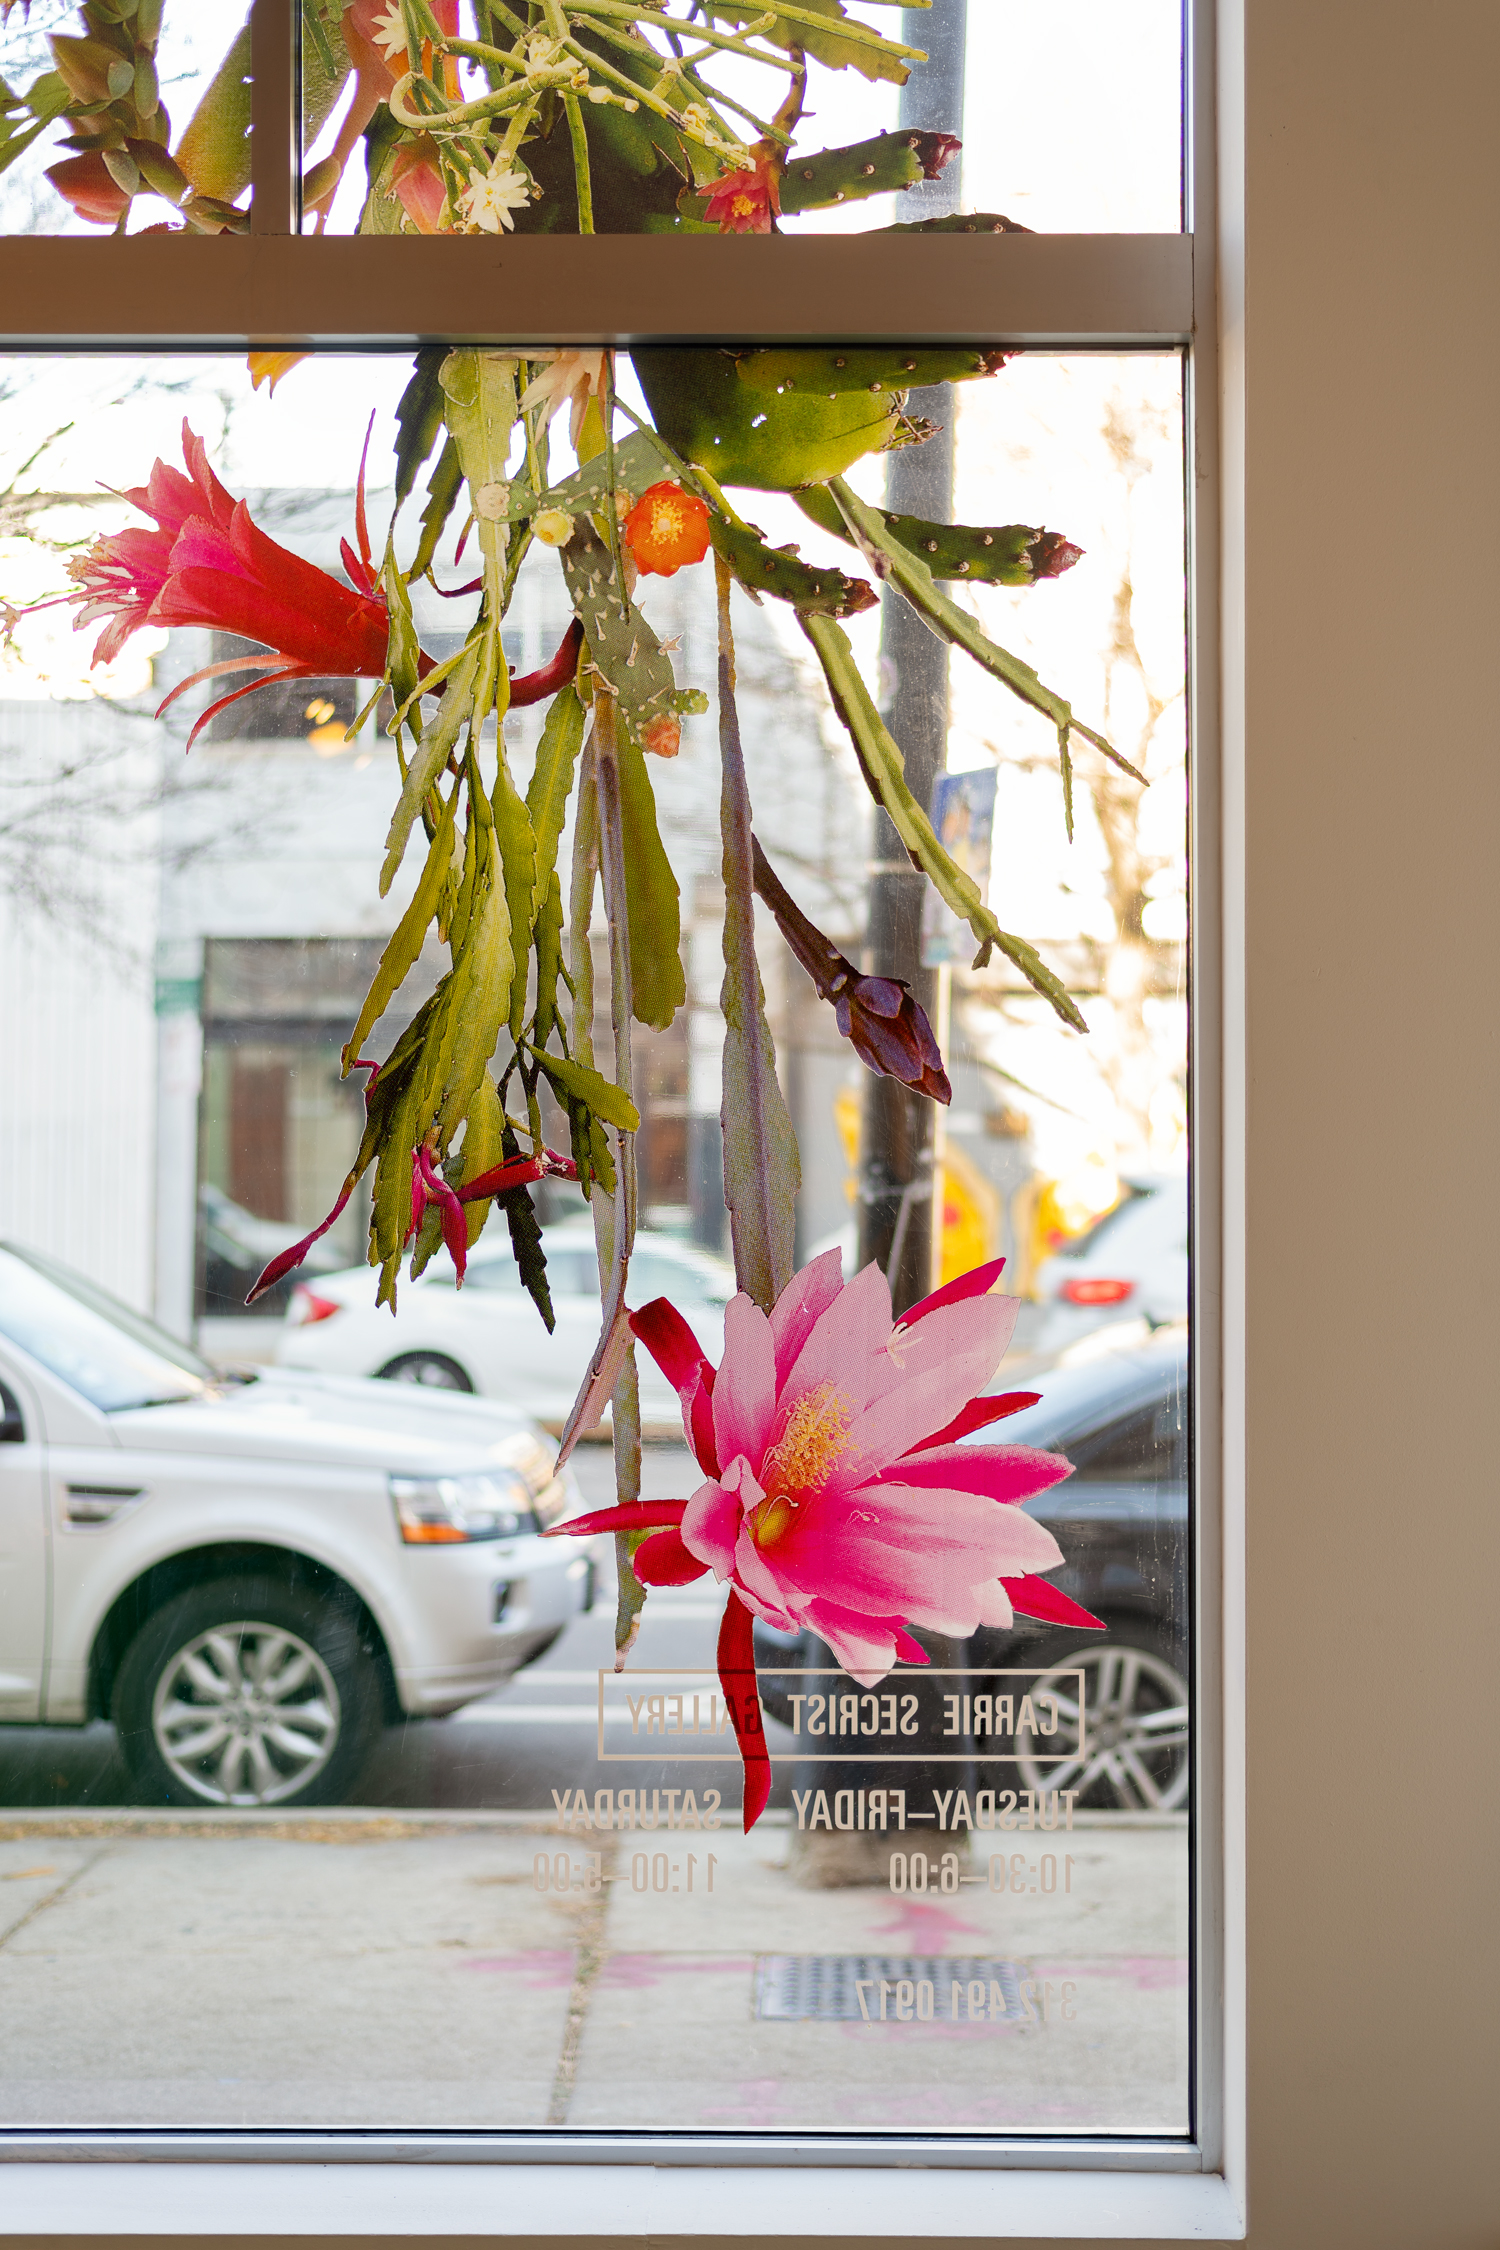
Stephen Eichhorn’s intricate flora collages pay homage to the Ages of the Anthropocene and Psychedelia, creating a transportive experience through the act of looking. Succulents, Cacti and other plant matter are arranged and intuitively piled, creating hybrid plants in micro-ecosystems that take on strangely familiar, yet cosmic forms. Using design elements and materials sourced from historical botany textbooks and other publications, these works on paper and panel heighten our connection to the natural and man-made climates that surround us.
Colors and shapes are equally integral to the dynamic function of the art work on view in Ceaseless Wheel. Eichhorn’s works on paper incorporate wide swaths of monochromatic colors that mimic and highlight singular colors found in the flora being used. Holes, arcs, crescents and other geometric patterns are cut out of the paper creating white voids of space that utilize formal artistic elements of foreground/background. Eichhorn’s diamond-shaped works on panels are built using light-sucking matte blacks and grays that enhance the colorful hand-cut paper flora. The shape of the panels mimics the geometric signatures in the paper works, creating an interweaving visual dialogue.
While each singular work of art is intended to be explored on its own, the exhibition experienced as a whole elicits a visceral response. Feelings of nostalgia coupled with hints of the future are assembled in a way that moves beyond the technical awe of the delicate hand-cut images of flora. The cumulative metaphysical tone, or idealistic exploration of reality, hinges on the symbolic nature of our relationship to accepting new experiential dimensions. The Ceaseless Wheel never stops turning.